How to Build an eCommerce Store in Framer Without Shopify
Want to sell on Framer without paying for Shopify? Here's how to build a fully working online store inside Framer using FeCommerce and WooCommerce, with on-page checkout and no code.

You've built a beautiful Framer website that features smooth animations and a clean layout. Everything looks perfect. But when someone says, "Can people actually buy things on your website?" here is where Framer users don't have an answer. Framer is a design-first tool that's great at building a website that looks and feels premium, but it doesn't come with a shopping cart, product pages, or a checkout flow.
In such a situation, most people turn to a Framer Shopify integration. They set up a separate Shopify store, try to match the branding, and end up managing two platforms instead of one. Undoubtedly it works, but it's clunky, expensive, and creates a disconnected experience for shoppers. But don't worry, we've got good news: you don't need Shopify at all. Using the right Framer eCommerce plugin, you can build a fully working online store inside Framer. There's no need for redirects, a second platform, or monthly Shopify fees.
Read this guide thoroughly to understand how you can build an eCommerce store in Framer without Shopify.
Why does a Framer + Shopify integration create more trouble?
We want to be honest about the Framer Shopify integration. Framer doesn't have a native Shopify integration. All you can do is embed Shopify's Buy Button on a Framer site. But when someone clicks "Checkout," they leave your beautiful Framer design and land on a generic Shopify page.
This kind of handoff hurts conversions. Besides, it also means you're paying for both Framer and Shopify, and you have to maintain two sets of content and branding. You also have to make design changes in two places, which makes the customer experience feel disconnected.
The Framer commerce Shopify integration workarounds you see on the internet every now and then are mostly hacks, not a clean, scalable solution.
There is a better path: a Framer eCommerce plugin built on WooCommerce.
What is FeCommerce?
FeCommerce is a free plugin available on the Framer Marketplace. It connects your Framer website to a WooCommerce backend and transforms it into a fully functional eCommerce store. WooCommerce handles your catalog, inventory, orders, and payments, and FeCommerce pulls all that into Framer. As a result, your shoppers never leave your site.
You can build the following using the FeCommerce plugin:
- A shop page with live search, sorting, and pagination.
- Individual product pages with variant selectors and image galleries.
- A cart drawer and cart page.
- A full checkout flow.
And the best part is that you don't need to write a single line of code.
What you need before you start
You need two things before you install FeCommerce.
A Framer website
Any Framer website will work, but if you're starting fresh, create a new project.
A WooCommerce store
WooCommerce is a free plugin that works on WordPress. If you don't have a WooCommerce store, set up a WordPress site and install WooCommerce. Most web hosts like Bluehost, SiteGround, or Hostinger let you do this in a few clicks.
Once your WooCommerce store is set up, add your products to it, and you're all set to connect it with Framer.
Step 1: Install FeCommerce from the Framer Marketplace
Open your Framer project. In the left panel, you'll see the Plugins icon. Search for FeCommerce here.
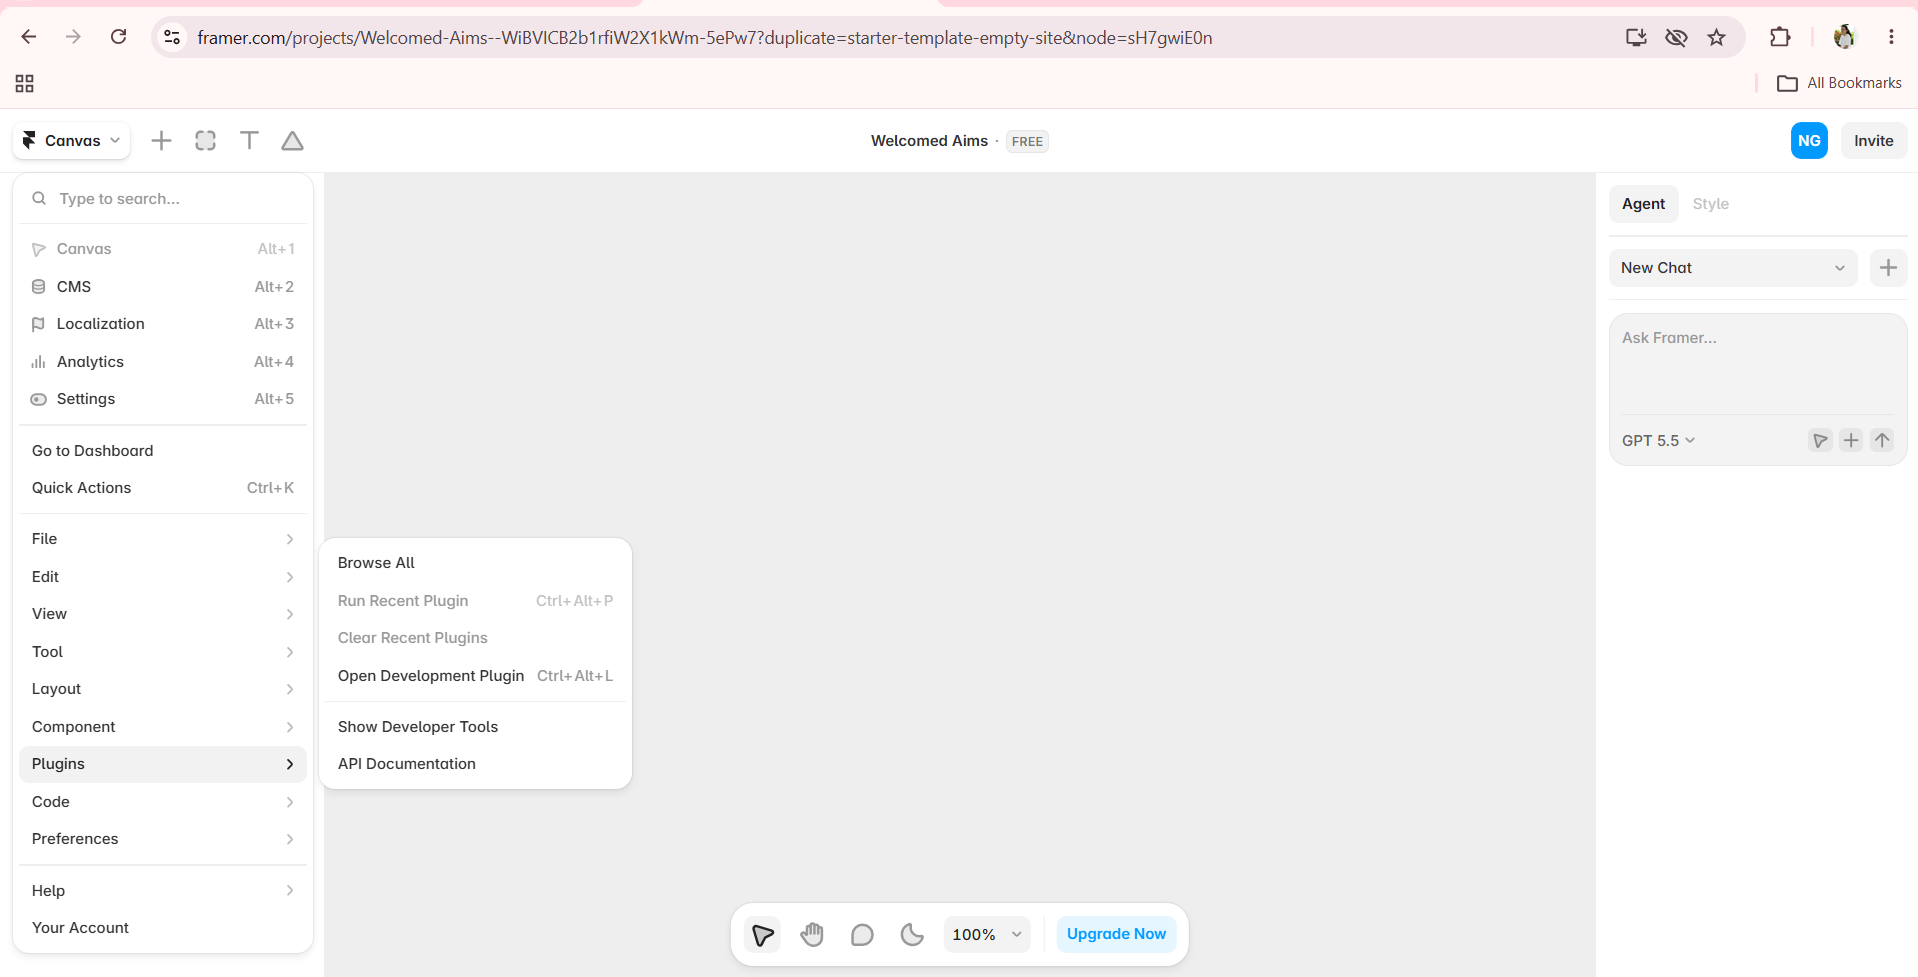
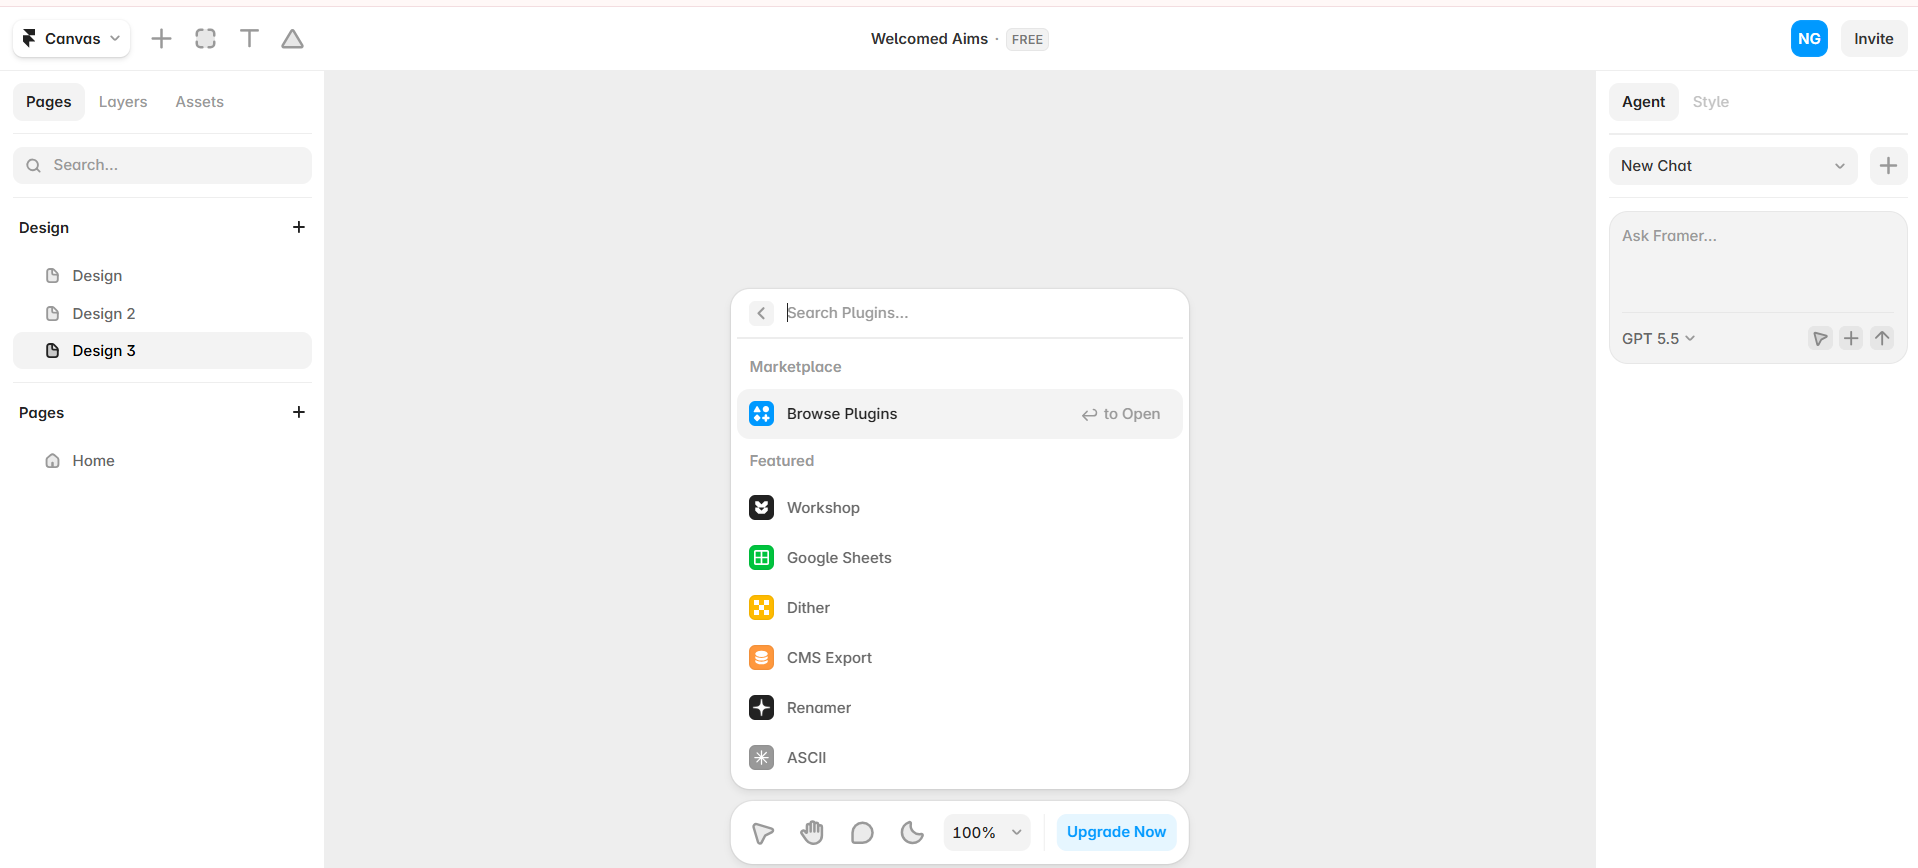
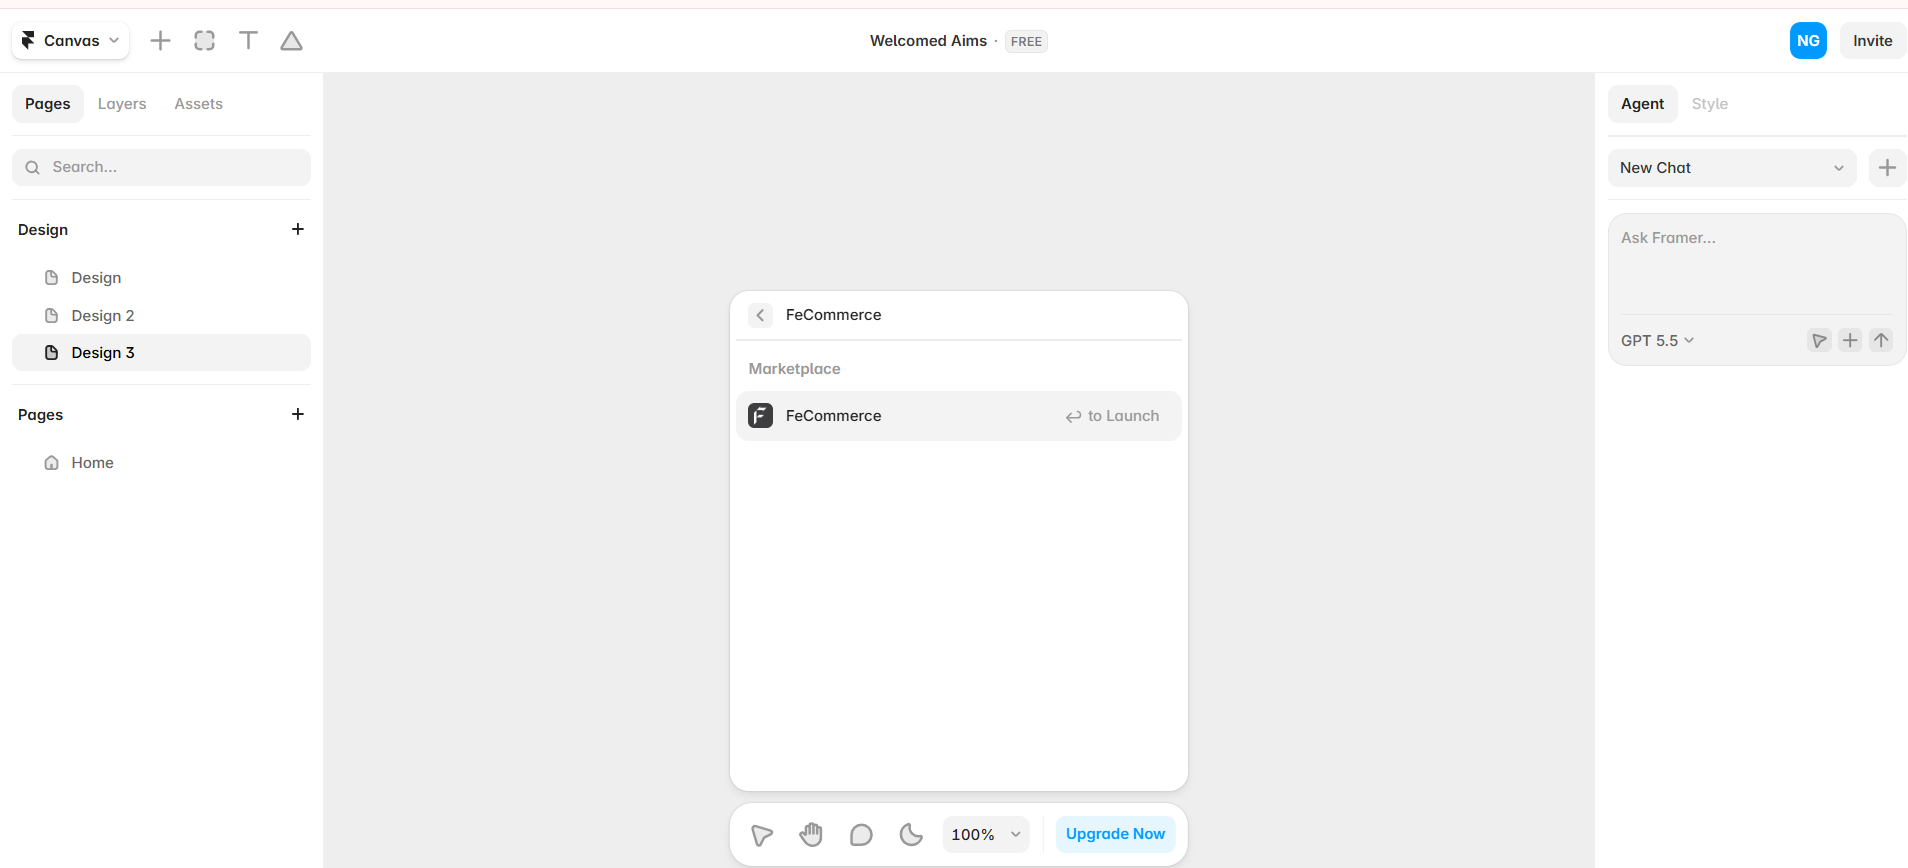
Click on the FeCommerce plugin to install it. It's a free plugin, so you won't need to make any payment.
Once the FeCommerce plugin is installed, you can see it in your plugin panel on the left side of your Framer editor.
Step 2: Connect your WooCommerce store
When you click on the FeCommerce plugin in your plugin panel, you'll see two fields.
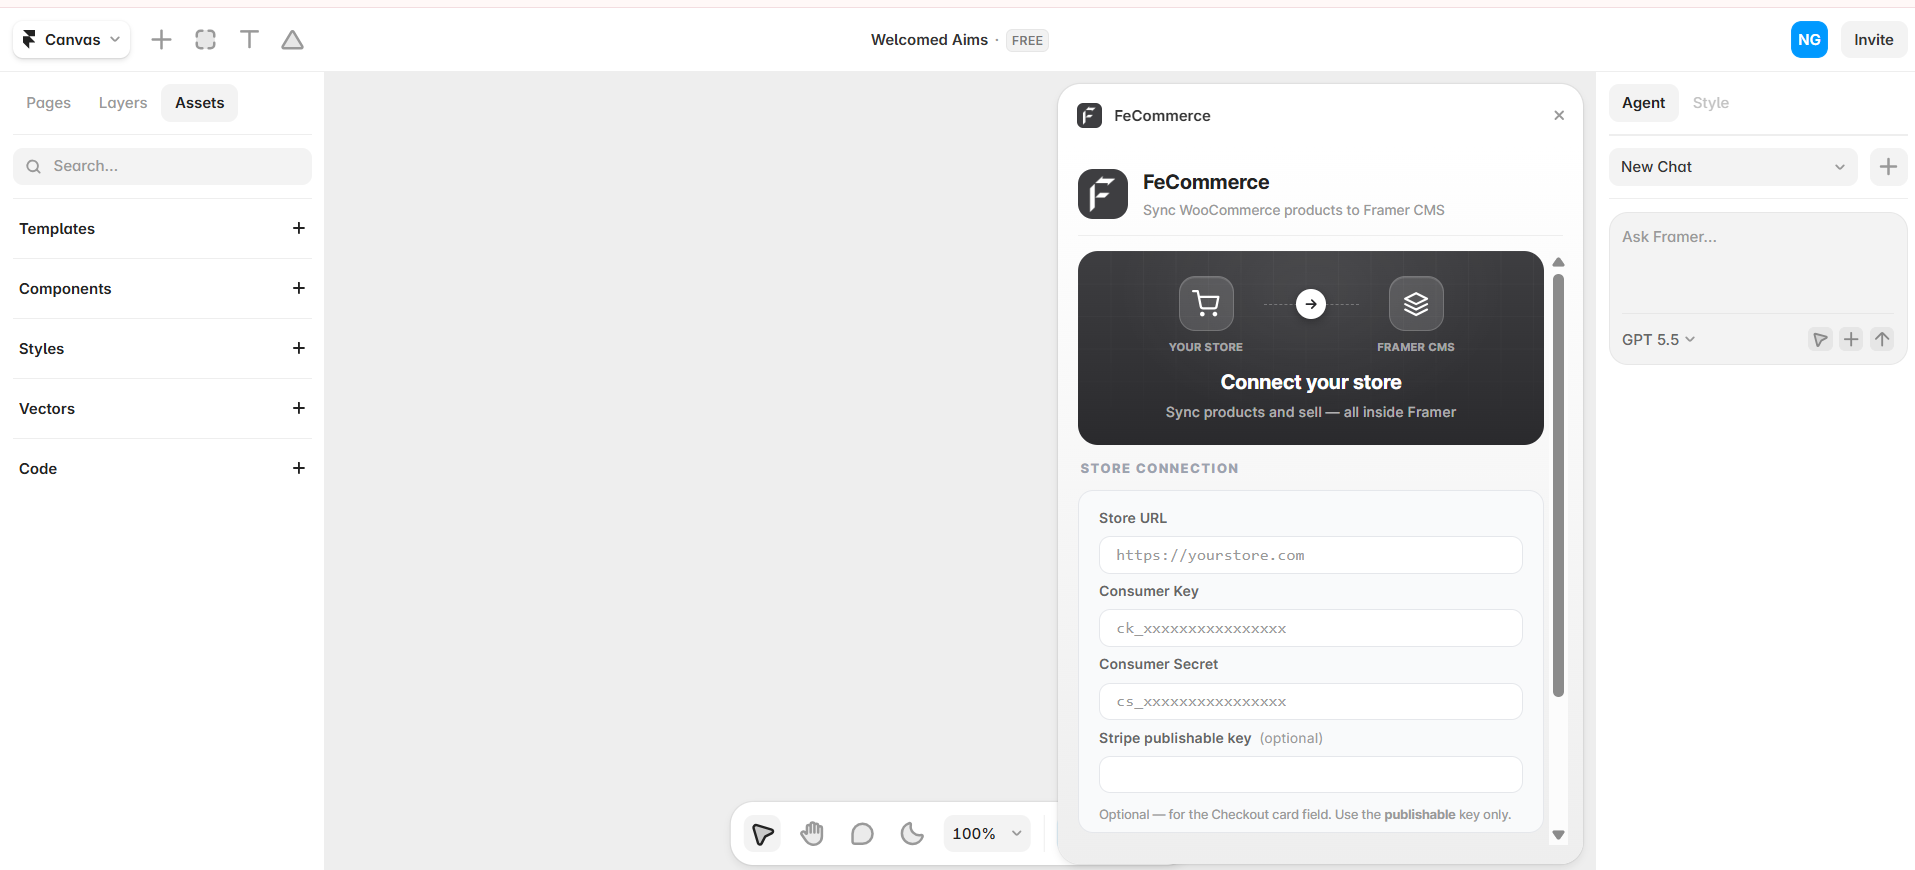
- Store URL — this is your WordPress/WooCommerce website URL, e.g. https://yourstore.com
- WooCommerce API keys — you need a consumer key and a consumer secret.
To get your API keys, go to your WordPress dashboard. Then go to WooCommerce → Settings → Advanced → REST API.
Click Add Key, give it a name, set permission to Read/Write, and click Generate. Copy the Consumer Key and Consumer Secret.
Paste both into the FeCommerce plugin panel in Framer and click Connect.
Your WooCommerce store is now connected. The best thing about the FeCommerce plugin is that it remembers your credentials between sessions, so you won't need to re-enter them every time.
Step 3: Choose your data source — CMS or live API
FeCommerce gives you two ways to pull product data into Framer.
CMS mode (synced)
The plugin imports your WooCommerce products into Framer's native CMS. This means product titles, prices, images, variants, stock levels, and categories are all stored inside Framer. Pages load fast because there are no live API calls. And the best part is that this mode also works with Framer's free plan.
API mode (live)
Products are pulled directly from your WooCommerce store in real time. Every time someone visits your shop page, they see the latest data. It's useful if your inventory or pricing changes frequently.
You can switch between the two modes at any time inside the plugin panel.
For most store owners, CMS mode is the easiest place to begin. Click the Sync button and all your WooCommerce products will appear in your Framer CMS collection in seconds.
Step 4: Build your shop page
Now it's time to design your store in Framer. FeCommerce comes with a full library of drag-and-drop components. Here's how you can build the core pages.
Product listing page
Drag the Product Grid (CMS) component onto your canvas. It automatically displays your synced products in a grid layout. With it, you can configure:
- How many products appear per row.
- Sort order (newest, price, popularity, rating).
- Whether to show a search bar.
- Pagination style, such as a Load More button or numbered pages.
The product cards support hover animations or a quick-add button that appears when a shopper hovers over a product.
Product detail page
You can use the Product Page component for individual product pages. FeCommerce has a one-click composition feature; just click it, and an entire product page layout is built for you instantly.
You can also toggle on/off sections like the image gallery, variant selector, price, SKU, stock status, reviews, and related products. Once you're happy with the layout, click Auto Update.
The Variant Selector component lets shoppers pick sizes, colors, or any other attribute. You can display variants as pills, color swatches, or image thumbnails.
Cart and checkout
Add the Cart Drawer component. It slides in from the side when a shopper clicks "Add to Cart." Or use the Cart Page for a dedicated cart page.
Add the Checkout component for checkout. By default, it supports Cash on Delivery. The impressive thing is that the entire checkout flow happens right on your Framer page without redirecting to an external payment page.
If you want to accept card payments, you can enable Stripe by turning on the WooCommerce Stripe gateway in your WordPress settings. FeCommerce will show an inline Stripe card form at checkout automatically.
The checkout collects the shipping address and contact info, and applies coupon codes and live shipping rates, all within your Framer site.
Mobile experience
For your mobile shoppers, you can offer a Mobile Sticky Cart bar that stays fixed at the bottom of the screen. It shows the Add to Cart and Buy Now buttons at all times, which makes it easy for mobile users to purchase without scrolling.
Step 5: Update products
This is the step where most eCommerce setups get messy. Generally, product prices change, new items get added, and old ones go out of stock.
With FeCommerce in CMS mode, updating products is a single-click process. Open the plugin panel in Framer and click Sync again. Because your API credentials are saved, FeCommerce pulls the latest data from WooCommerce and updates your Framer CMS collection instantly, without any manual data entry. All it does is sync and publish.
How is FeCommerce different from Framer + Shopify?
Let's do a quick comparison between FeCommerce and Framer + Shopify to understand how the two differ.
| Feature | FeCommerce (Framer + WooCommerce) | Framer + Shopify |
|---|---|---|
| On-page checkout | Yes, no redirect | Yes, but redirects to Shopify |
| Monthly cost | Free plugin + WooCommerce (free) | Shopify starts at $39 per month |
| Design control | Full Framer design freedom | Limited to Shopify's checkout |
| Product sync | One-click CMS sync | Manual or third-party tools |
| Code required | No | No |
| Mobile cart | Built-in sticky cart | Depends on the Shopify theme |
Who should use FeCommerce?
FeCommerce is ideal for you if you:
- Already have a Framer site and want to add a store to it.
- Have a WooCommerce store and want a better-looking frontend.
- Want to avoid Shopify's monthly fees.
- Want shoppers to stay on your site through the entire purchase.
FeCommerce is a great fit for designers and agencies who build client websites in Framer and need a simple, no-code way to add eCommerce without managing a separate platform.
Final thoughts
Framer is one of the best platforms for building websites that feel premium. The only thing holding it back was eCommerce, and now that gap is filled.
FeCommerce connects Framer to WooCommerce and gives you everything you need to run an eCommerce store, without writing a single line of code and without paying for Shopify.
It's a free Framer eCommerce plugin available on the Framer Marketplace, and it takes barely 15 minutes to set up. If you want to add a store to your Framer site, this is the cleanest way to do it. Get FeCommerce free on the Framer Marketplace.